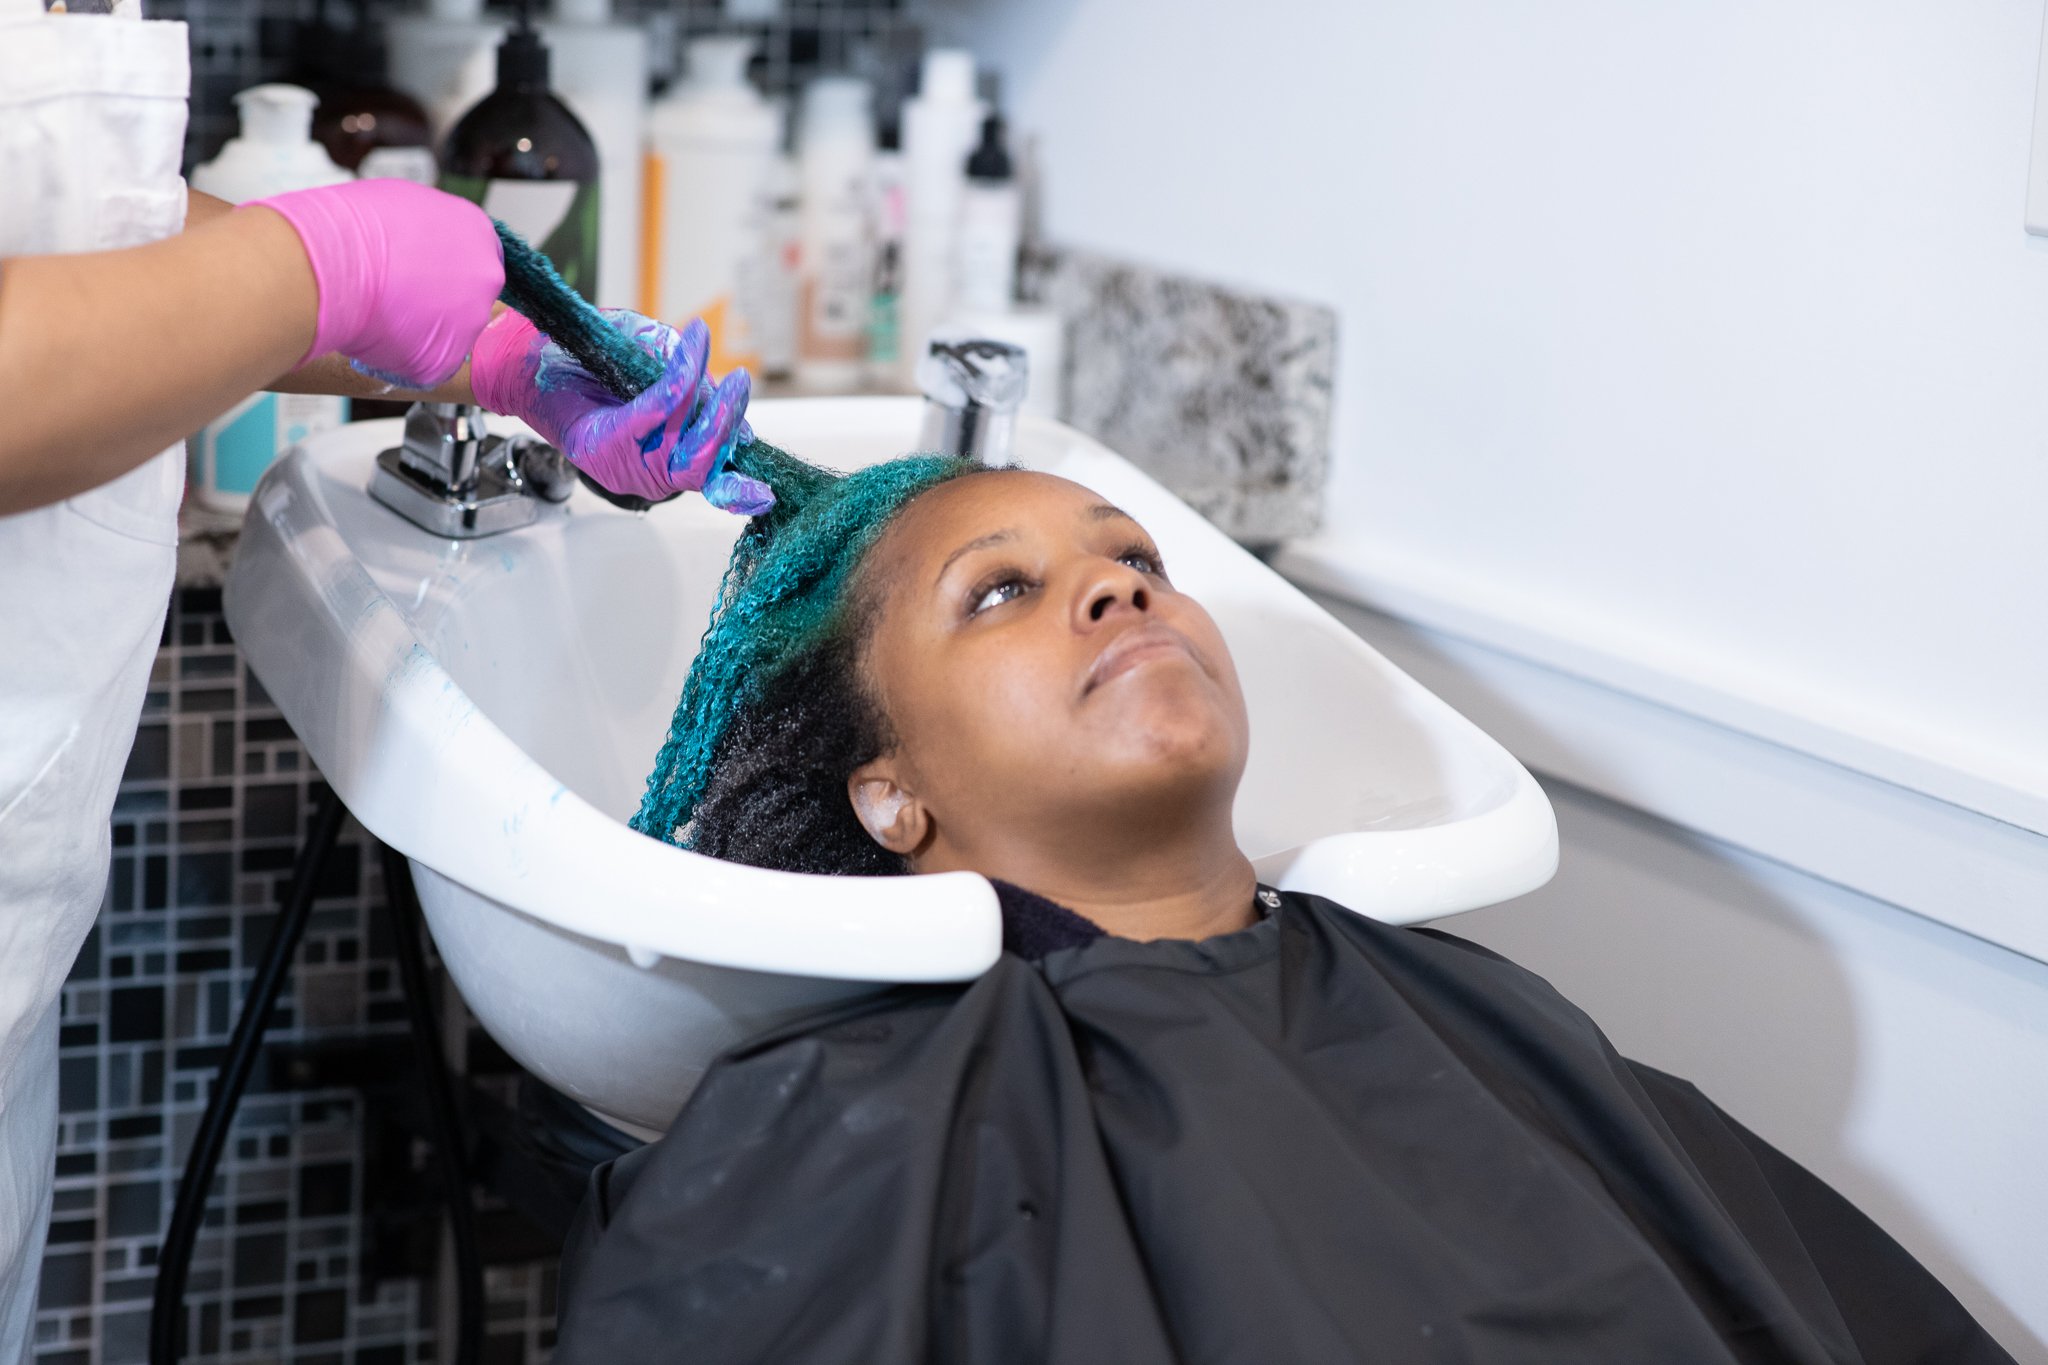
How Naturals Can Turn Wash Day Into Wash Hour
Bridgeet, a tight curly + natural, recently shared her detailed Wash Hour routine. We shared her video on our professional Instagram channel and we have been blown away by the amount of positive feedback and love the natural hair community has poured into her video.
C’mon tight curl representation!
We truly love to see it and it warms our hearts as educators when you all nail down your hair care routines.
If you’re a natural that’s new here, welcome to our corner of the Internet! We’re Aishia (pink) and Aeleise (blue)—licensed stylists and tight curl educators working to help simplify natural hair care for women, men and kids around the world.
After taking stock of what we were doing to pretty much every client in the salon, we came up with the Wash Hour Process. Generally it should take most people in between 30-90 minutes to complete all 5-6 steps of this process depending on density, length and any treatments the hair needs.
Take a look at Bridgeet’s hair care routine video and read the detailed Wash Hour steps below.
Step 1: Clarify
Clarifying is done with a clarifying or chelating shampoo to remove all dirt, buildup, debris, and minerals from the hair and scalp. It is a process that should be done only when needed instead of on a timed interval. For individuals who live a more active lifestyle, who use heavier butter and oil-based styling products, and who have more physically intensive jobs (like our CSI technician clients) will likely need to clarify more often than someone who works in an office. .
Step 2: Cleanse
Yes, clarify and cleanse are two distinctly different steps for getting our hair clean. The cleanse step is what you’ll be doing every wash day to remove the majority of the products, sweat, and debris from your hair. The technique is the same but the difference between clarify and cleanse is the formulation of the product you’ll be using.
An all purpose, moisturizing, or co-wash will be your product of choice depending on how long you have gone between cleansing sessions and how dirty your hair is. More frequent cleansing of less dirty hair can use a less cleansing cleanser. Less frequent cleaning, use of heavy product, or more dirty hair can use a stronger cleanser. You can do one or two shampoos depending on personal preference.
Shampoo Definitions:
All Purpose shampoos have the ability to remove dirt, oil, buildup and environmental debris on a regular basis. They can typically be used regularly every 7 to 10 days, however this is going to depend heavily on your unique Essential Elements, specifically your curl diameter and/or your activity level. We do not recommend using this category of shampoo more than once a week. Again, activity level (being exposed to a significant amount of sweat, dirt, debris) may impact your cadence to cleansing with this particular category.
Moisturizing shampoos are more conditioning, less cleansing. This category of shampoo contains less strong surfactants more emollients and humectants in the formulations. This shampoo category can be used frequently, even daily. These shampoos will not compromise the condition of your hair strands. This is the shampoo you can grab if your style doesn’t come out how you expected or if you need to cleanse multiple times a week.
Step 3: Hydrate
In this step we use our rinse out or deep conditioner to seal the moisture (water) and add much needed emollients and humectants into the hair.
Once all of the shampoo or cleansing conditioner has been rinsed from the hair, leave all the water in the hair (do not dap or pat dry!) and immediately apply your conditioner. Depending on the formula of the conditioner and the density of your hair, one to three golf ball size applications of product will likely be enough.
Rub the product together in your hands until it’s well distributed. Apply to the ends first soothing the hair between your hands. Work your way up the hair strands to distribute the product evenly. Add more water to your hair as you distribute the product thoroughly.
Have your tools or fingers ready to detangle to remove the shed hair. Once the hair is fully saturated with conditioner and water, section the hair into 5 sections. Part the hair from ear to ear, separate the back down the middle into two sections. Part the top into 3 sections, left side, top, right side.
Use your tool to begin detangling from the ends up the hair strand in small manageable sections. Be sure that you are reaching the roots and removing all shed hair from there. Once you’re finished detangling a section, double strand twist or bantu knot that section to maintain alignment of the hair strands.
Step 4: Define
Define = style. An afro, hydrate & define (aka wash and go), twists, twist out, updo. Anything or nothing. We are style agnostic, though as individuals both of us prefer the ease of a Hydrate & Define for our busy lives.
It’s important to choose your styling technique based on the elements of your hair. Low density and/or fine hair tends to appear fuller with expanding styles like Hydrate & Defines, rod/roller sets, and twist/braid outs done on stretched hair. High density and/ or coarse hair can reduce volume with condensing styles like twist/ braids set on wet hair, Hydrate & Defines (depends), and wet set twisted or tuck + roll updo’s.
Step 5: Define
Hood dryer, blow dryer with or without diffuser, or air drying? How you dry your hair is a very personal decision. We encourage you to do what works for your lifestyle and styling goals but there are pros and cons to each method.
Drying Options:
A hood dryer forces warm air around the hair to speed the air forming of a set. The hair is locked in place quickly and not given time to frizz, loosen, shrink, or expand. This creates sets that are close to what the hair looks like wet. We find that the hair strand also retains more of the smoothness created during the setting process and therefore the dry set result can end up having more sheen/shine than any other drying method.
A diffuser takes the high impact direct air from a hand-held blow dryer and “diffuses” it, softening the airflow and temperature by directing it to a larger area of the hair. Diffusing is great to build volume, but if you’re not looking for volume, a diffuser can be a style nightmare. We advise diffusers be used on tightly curly hair once the hair is at least 60% dry. The diffuser should be angled in a downward fashion and moved through the hair vertically and slowly to not disturb the created curl.
Air drying is likely the most popular, and easily the most frustrating method of drying natural hair. It can take hours, or even days, for the hair to dry. As that hair is drying it is expanding and possibly frizzing due to climate or hand in hair syndrome. Air drying time is dependent upon density, climate, product, and style choice/techniques, but we routinely see air drying take 2-3 full days for the stye to be dry inside and out.
Want to simplify your wash routine? We cover all the natural hair fundamentals and more in our digital consumer education platform, The SeeSomeCurls Visual Library.
Our 1.2K+ course community of tight curl + naturals are shaving more than 50% of time off their wash day, being showered left and right with hair compliments, and are receiving direct support of a very encouraging community of tight curlies + naturals who have been exactly where you are.


