5 Ways to Help Elongate Your Curls
Contrary to popular belief, everyone can wear a wash & go, even the “4C” folks. The question you must ask yourself is what are the expectations of your final result?
Your curls are going to look like your curls—no one else’s. With their tightness, looseness, shrinkage and whatever combination of Essential Elements you have. Climate, lifestyle, hydration level along with the condition of your cuticle of your hair are going to have the most impact on your product selection and finished results.
There is no magic product, save for sodium hydroxide or ammonium thioglycolate relaxers, that can “elongate" the curl and give you a curl diameter that is not yours. It is up to us to truly see ourselves for the beauties we are, and accept 100% of us.
We acknowledge that a lot of naturalistas desire elongation also referred to as “hang time.” Although you cannot change the head of hair you were birthed with, there are a few tips/tricks you can do to achieve elongation. This blog post will discuss five ways you can help elongate your curls.
Tip #1: Cleanse Your Hair Regularly
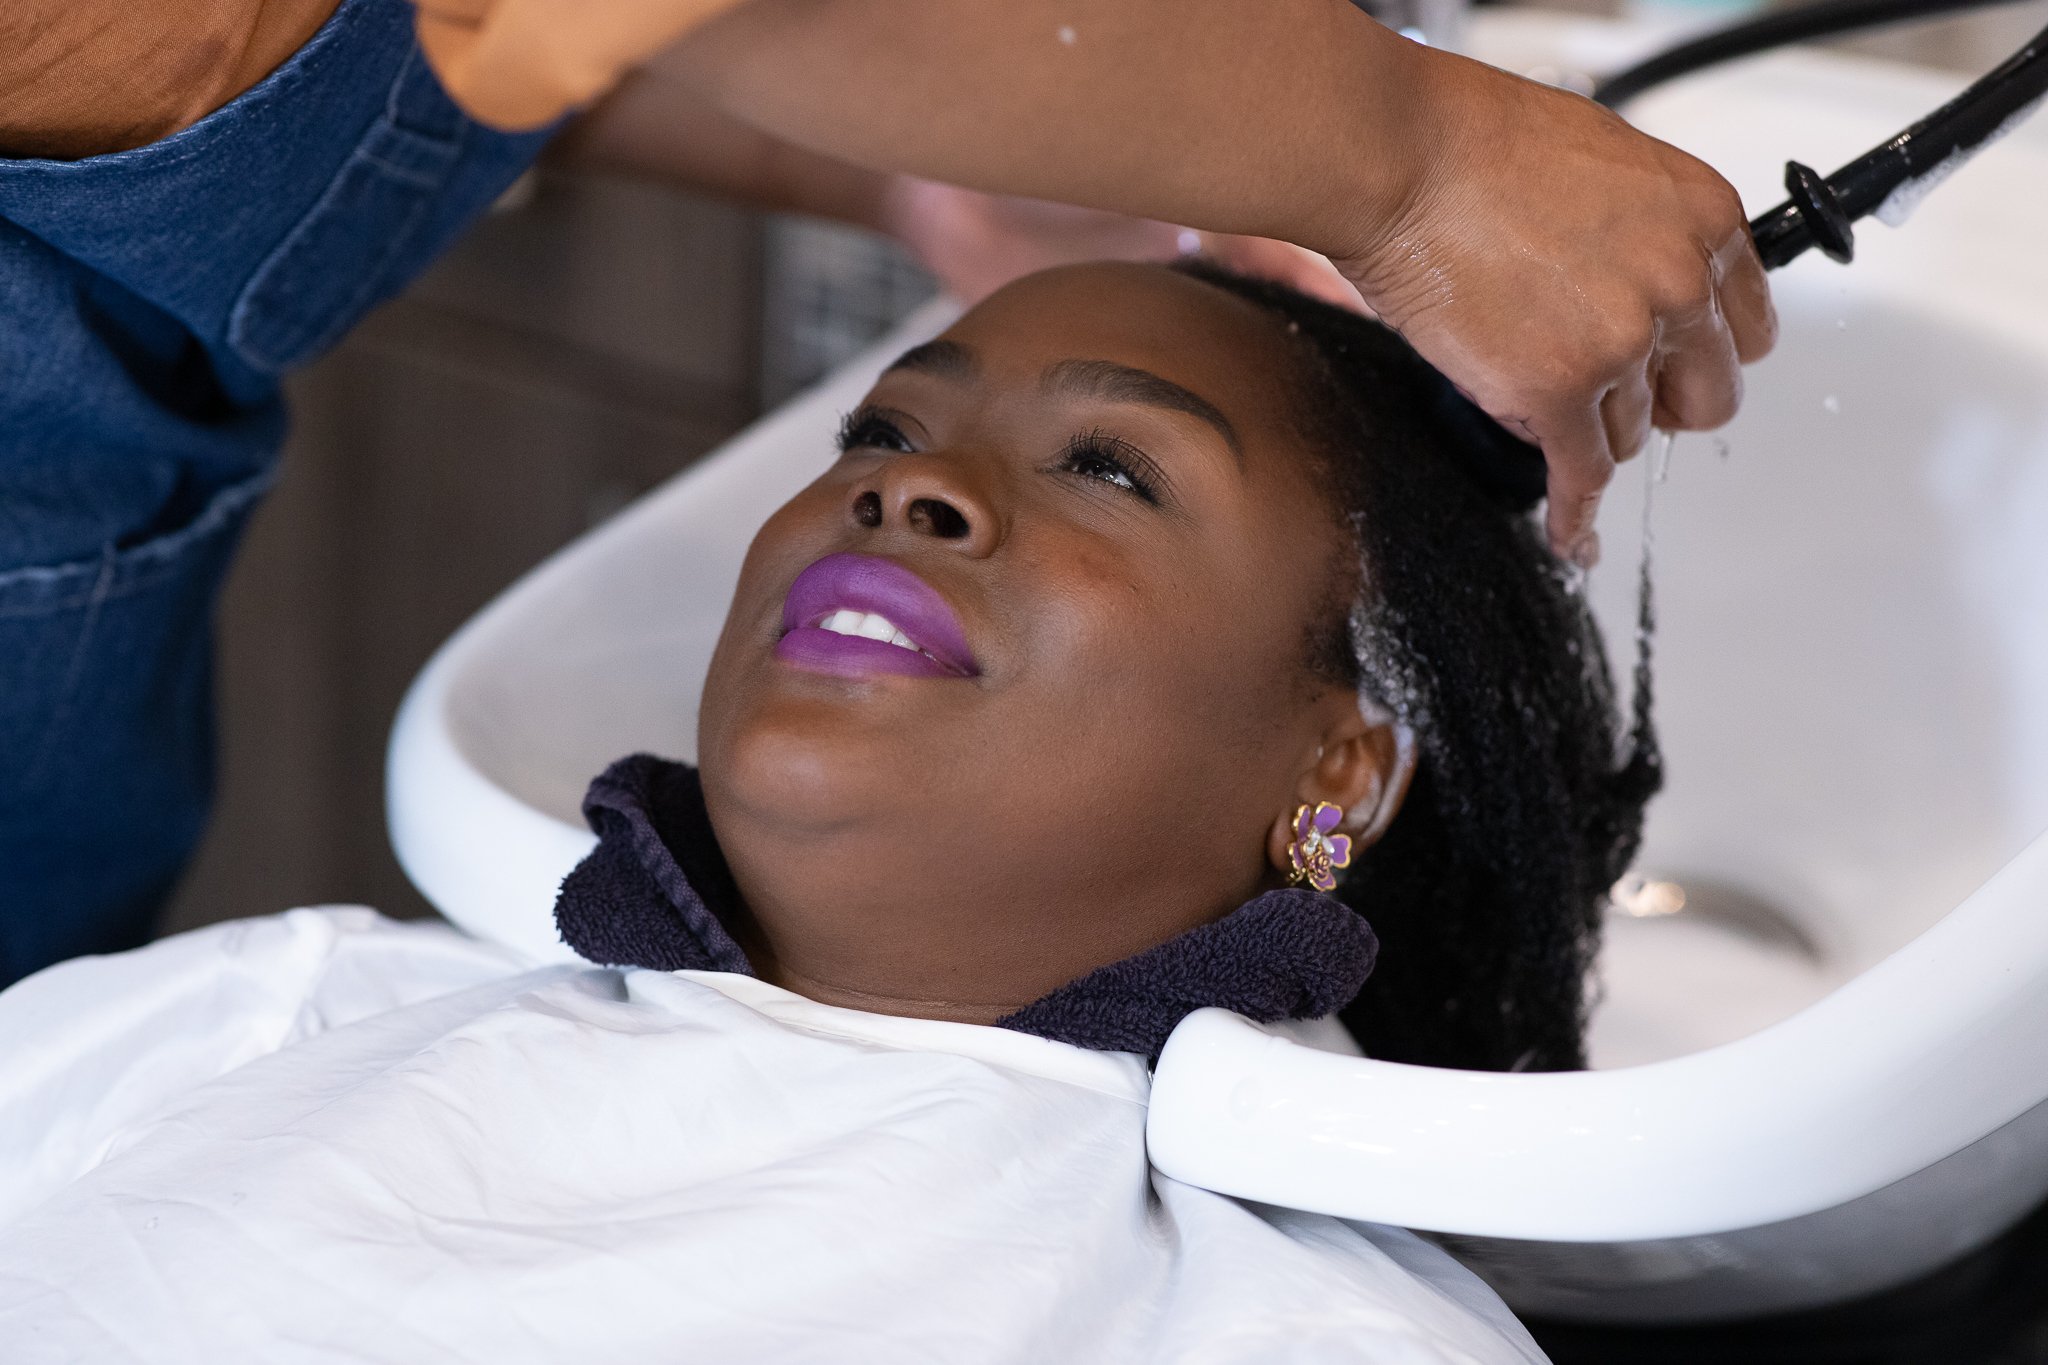
Properly cleansing with shampoo is something you’ll need to do every single wash day to remove the majority of the products, sweat and debris from your hair. We typically recommend cleansing your hair every 5 to 7 days, based on your individual lifestyle.
We understand things happen and this routine won’t be followed to a tee every single week, however we do not recommend going any longer than 14 days without cleansing your hair.
An all purpose, moisturizing, or co-wash will be your product of choice depending on how long you have gone between cleansing sessions and how dirty your hair is. More frequent cleansing of less dirty hair can use a less cleansing cleanser. Less frequent cleaning, use of heavy product, or more dirty hair can use a stronger cleanser. You can do one or two shampoos depending on personal preference.
Tip #2: Make Sure You Detangle Properly
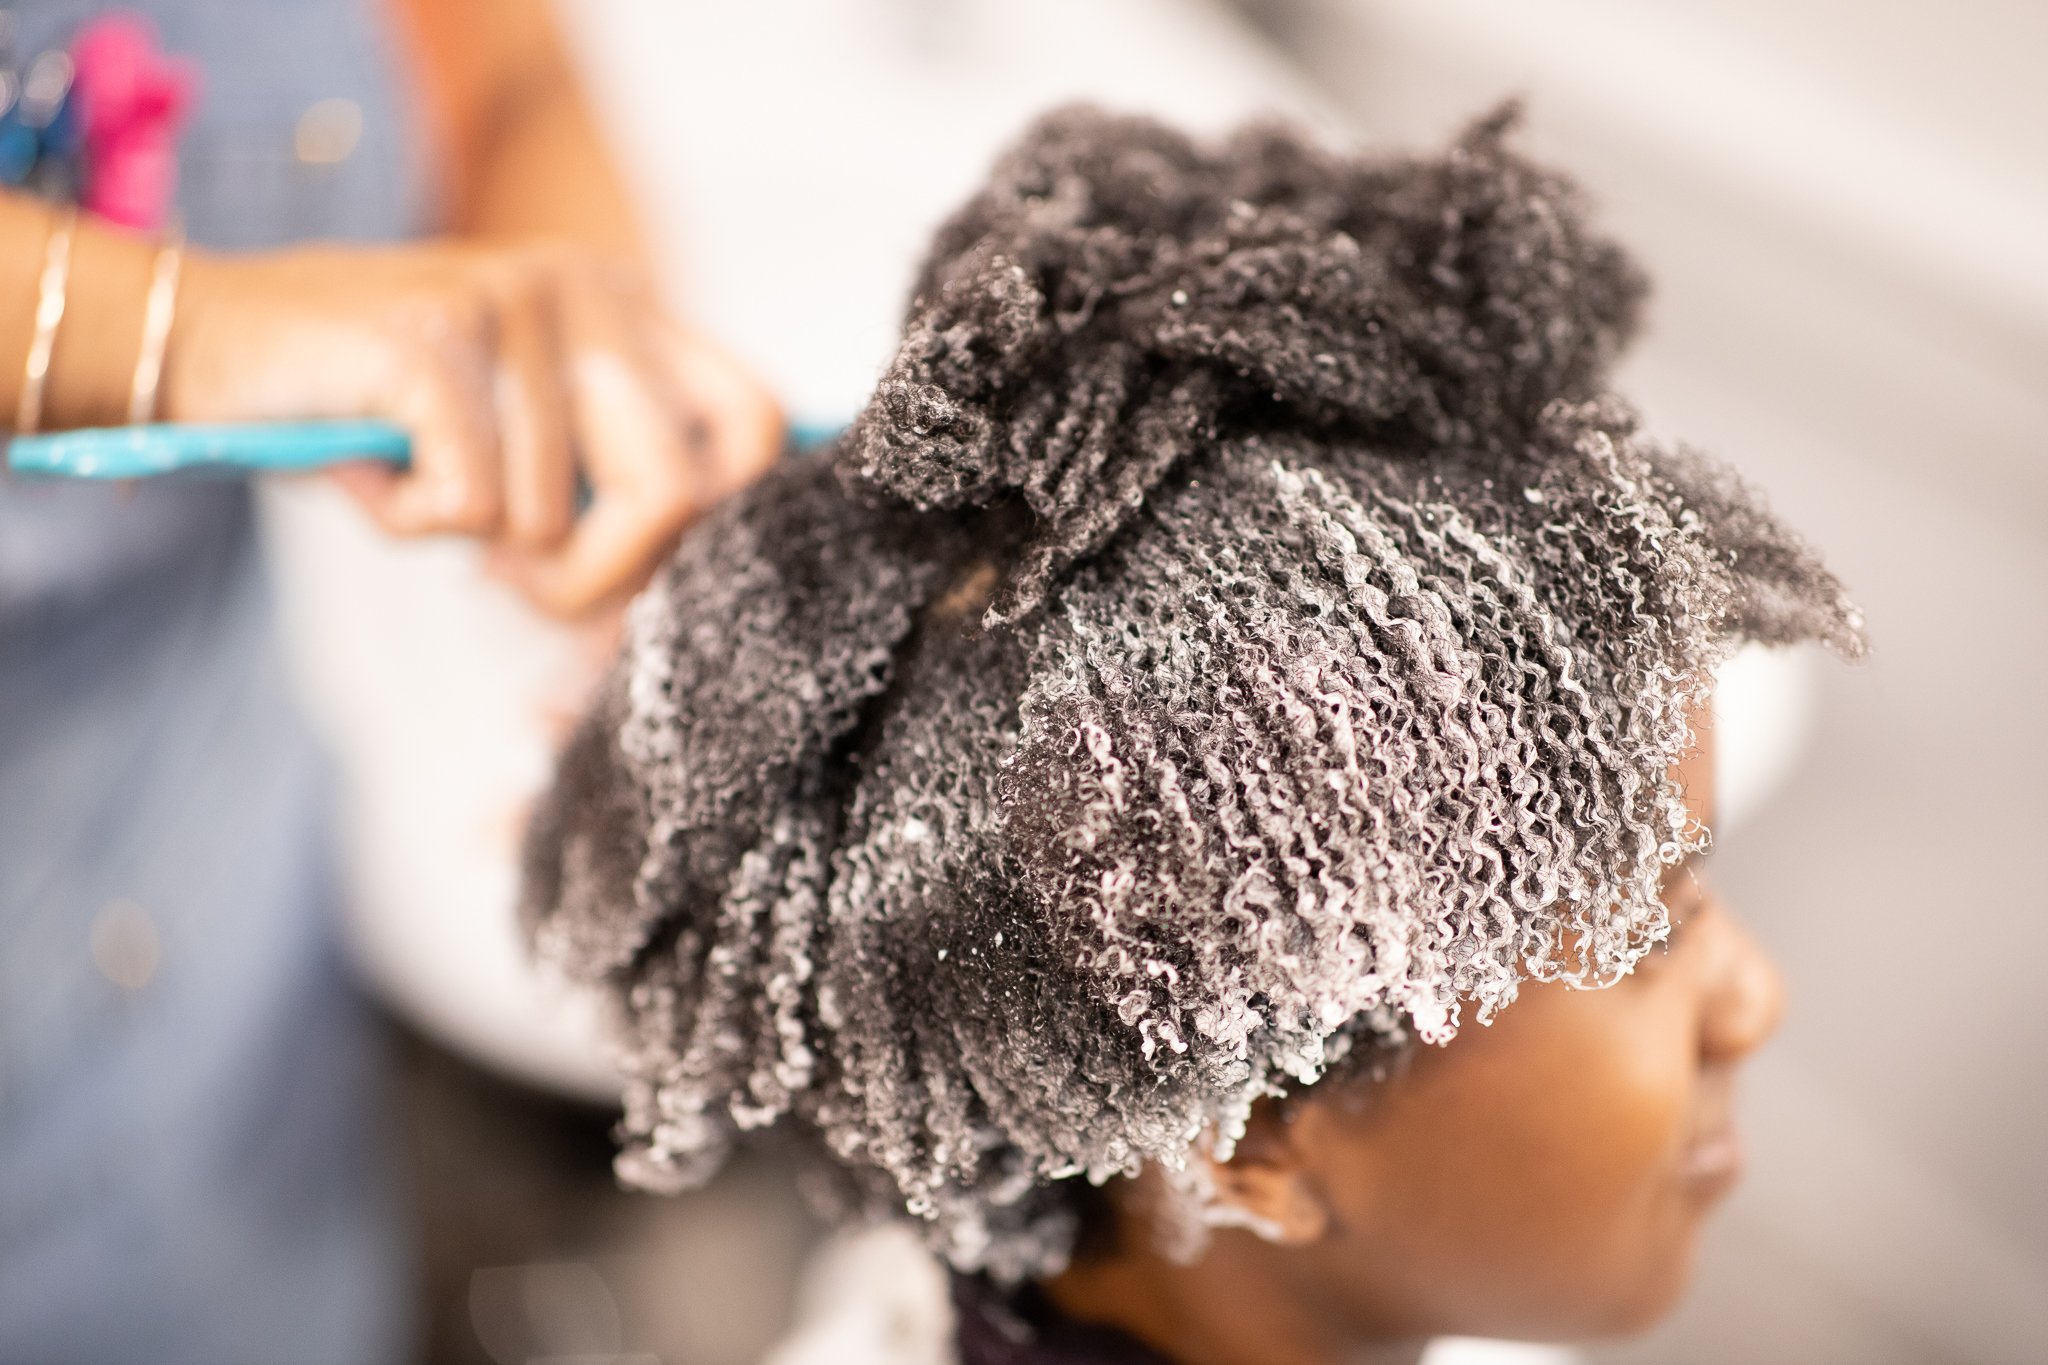
During your wash day, detangling should happen with a quality conditioner. Have your tools or fingers ready to detangle to remove the shed hair. Once the hair is fully saturated with conditioner and water, section the hair into 5 sections. Part the hair from ear to ear, separate the back down the middle into two sections. Part the top into 3 sections, left side, top, right side.
Use your tool to begin detangling from the ends up the hair strand in small manageable sections. Be sure that you are reaching the roots and removing all shed hair from there. Once you’re finished detangling a section, double strand twist or bantu knot that section to maintain alignment of the hair strands.
Keep in mind: Finger detangling is all well and good till the first loc starts budding. We are very realistic that there are many women who cannot and will not effectively finger detangle their own hair.
“Let’s be honest, thorough finger detangling is hard. Especially if you have a job, kids, heck even a halfway life you want to be living. Giving 1-2 hours to painstakingly detangle just isn’t realistic and we have a tendency to gloss over our prime problem areas when our arms get tired. Learning how to use the awesome, seamless detangling tools on the market is a life and time saver.”
Proper and patient tool usage assists in the complete removal of shed hair without damage to the hair. Start at the ends and work slowly up the hair shaft in small sections. If you encounter resistance or a knot, put the tool down and concentrate on separating the knot and dislodging the shed hair that’s been caught up. Once the knot is resolved resume the tool detangling.
In the salon, we’re loving the authentic Tangle Teezer, Brush with the Best (Felicia Leatherwood’s Brush) and even The Wet Brush—exclusively for our fine lower density clients. Once the shed hair has been completely removed, then we can finger detangle/smooth the hair and re-establish the super defined curl formation.
Tip #3: Use a Hood Dryer As Opposed to Air Drying
Contrary to popular belief, the heat from a properly working hood dryer is not dangerous to your hair. A hood dryer is a form of indirect heat—any type of styling tool where the heat blows around the hair, but does not directly touch the hair.
We love to use the analogy that these heat sources are the equivalent to you standing outside on a hot sunny day, with the wind blowing.
For example, a hood dryer forces warm air around the hair to speed the air forming of a set. The hair is locked in place quickly and not given time to frizz, loosen, shrink, or expand. This creates sets that are close to what the hair looks like wet. We find that the hair strand also retains more of the smoothness created during the setting process and therefore the dry set result can end up having more sheen/shine than any other drying method.
We’re personally not the biggest fans of air drying because it takes a long time to fully dry which gives more opportunity for the hair shaft to swell. This leads to decreased longevity in the set, frizz, shrinkage and little to no shine or sheen. We do not provide specific hood dryer recommendations and suggest that you purchase one that fits your space/budget. Hood dryers can range between $50-100 in cost and can be purchased from Sally’s Beauty, Amazon, Ebay and your local beauty supply store to name a few.
Tip #4: Choose Low Manipulation Hairstyles
We define low manipulation hairstyles as styles that don’t create a lot of tension to your hair and are fairly easy to execute from week over week. Examples would include: wash and go’s, twist outs, goddess twists, buns, etc. Be sure if you’re doing ponytails, buns, puffs, etc to take them down and the end of the day to release any created tension.
Alternatively, high manipulation hairstyles are those that require you to alter your hair for a desired look including: box braids, sew ins, blow outs, wand curls, etc. We would advise to do these type of styles on a limited basis (perhaps 2 to 3 times a year depending on the condition of your hair), to not compromise your cuticle and to keep your curl integrity intact.
Tip #5: Get Regular Maintenance Cuts
Now why as naturals do we still need regular haircuts when we’re not doing a ton of manipulation or heat styling the hair? The reason why is because hair is a fabric. Your hair may be more like wool or may be more like silk but it’s all fabric.
Think about rolling the end of a piece of thread in between your finger. What does it do? It will roll around for a while but eventually the thread gets tangled, knotted, and even will begin to fray. The thickness and surface texture of the thread determines how long it takes for the damage to occur, but ultimately all fabrics will be damaged if the manipulation continues.
The ends are the oldest part of the hair, so it is imperative that we are doing maintenance cuts to thwart any frayed ends from spreading up the hair strand. How often you get maintenance cuts will depend on your desired goals, length and more. We advise partnering with a skilled professional to get on a regular cut schedule.
Our Cut It Kinky Alumni Stylist directory is comprised of 180+ independent, licensed stylists all over the US (even several abroad) who have taken education with our professional education company—Cut It Kinky. If you’re unable to find a stylist in your area, check out this blog post for useful tips.
Want more tips like these? We cover all the natural hair fundamentals and more in our digital consumer education platform, The SeeSomeCurls Visual Library.
Our 1.1K+ course community of tight curl + naturals are shaving more than 50% of time off their wash day, being showered left and right with hair compliments, and are receiving direct support of a very encouraging community of tight curlies + naturals who have been exactly where you are.


